| Sign Up For Our Newsletter |
| Sign Up For Our Newsletter |

Using Invisible Buttons on a Slide Show
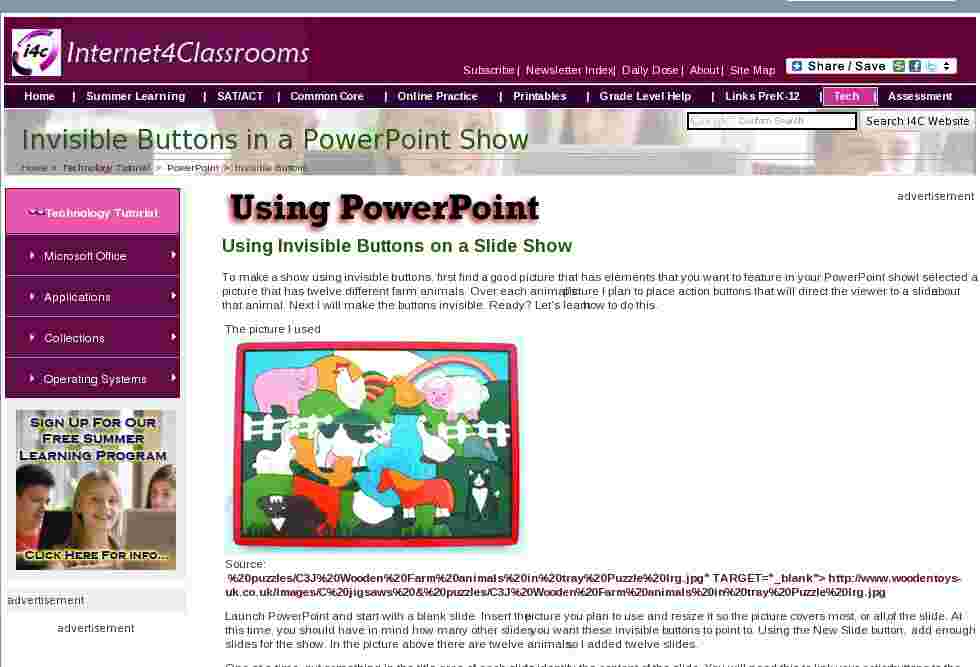
To make a show using invisible buttons, first find a good picture that has elements that you want to feature in your PowerPoint show. I selected a picture that has twelve different farm animals. Over each animal's picture I plan to place action buttons that will direct the viewer to a slide about that animal. Next I will make the buttons invisible. Ready? Let's learn how to do this.The picture I used
Source:
%20puzzles/C3J%20Wooden%20Farm%20animals%20in%20tray%20Puzzle%20lrg.jpg" TARGET="_blank"> http://www.woodentoys-uk.co.uk/images/C%20jigsaws%20&%20puzzles/C3J%20Wooden%20Farm%20animals%20in%20tray%20Puzzle%20lrg.jpgLaunch PowerPoint and start with a blank slide. Insert the picture you plan to use and resize it so the picture covers most, or all, of the slide. At this time, you should have in mind how many other slides you want these invisible buttons to point to. Using the New Slide button, add enough slides for the show. In the picture above there are twelve animals, so I added twelve slides.
One at a time, put something in the title area of each slide to identify the content of the slide. You will need this to link your action buttons to the slides. When you have finished, go back to slide one and identify where you want the first invisible button to be located.
In the Slide Show menu, slide down to Action Buttons, then slide over to the blank button and click one time.
Clicking on a button does not create a button, it allows you to click and drag to draw a button. Move your cursor onto the slide. Your pointer has turned into a cross hair shape that you see to the right.

Picture a box covering the object you want to cover with an invisible button. Put your cursor at the top left point of the box, click your left mouse button and leave it depressed while you drag the shape of your button down to the bottom right point of the box. Do not let go of your mouse button until you have completely covered the part of the picture you started with. First time action button users tend to click and let go, drawing a tiny button which is not much larger than a period. If you do this, you will see four circles surrounding your new button. The easiest thing at this point is to delete the new button (or choose Undo from the Edit menu) and try again.
The button you have drawn will cover the object, but it will not be invisible.
As soon as you let go of your mouse button an Action Settings window pops up. None is the default selection for a blank button. You must click in the white circle to the left of Hyperlink to: then click in the block where you see Next Slide . Scroll down to Slide ...
After you have scrolled down far enough to select Slide ... , the Hyperlink to Slid e window pops up. Select the slide that matches the part of your picture you started with. Click the OK button. You should see a button completely covering the object you started with. It may not be light blue like the buttons in module, but they will not be invisible.

To make your button invisible, right click on the button (on a Mac depress Control and click). From the menu that pops up select Format Auto Shape .
If the Colors and Lines tab is not selected, click on that tab. In the Color block you will see the color of your button. Click on that color block and select No Fill . In the Line section of this menu, if the Color box has anything other than No Fill selected, repeat the process. Both Fill color and Line color must be set at No Fill to make a button invisible.
One problem with using Action Buttons in this manner is that they are basically square, or rectangular. However, you can turn the button to a different orientation with the green circle at the top of the button. Also look at the section below to use Autoshapes for your invisible buttons.
Click on the green circle, leave your mouse button depressed and drag the button around until the button shape more nearly covers the object on your picture.
�
On each of the other slides you should place a button to allow someone to return to the picture. If your picture is on slide one, the button with a picture of a house is set to return viewers to the first slide. Draw one. Move it to the place on the slide where you want it to be on all others. Select the button. Copy the button. Move to a slide that does not have the Home button and Paste . The button is placed exactly where the other Home button was placed.

A problem that may happen is that someone clicks where there is not a picture, sending the show to the next slide instead of where you wish it to go. Dan Doyle suggested a way to prevent that. Click on the Slide Sorter layout, (the four squares at the left corner of the PPT window) right click on any slide and select Slide Transition. When the dialog box opens, go down near the bottom to the Advance Slide section and click on the check mark in the box beside the On Mouse Click selection. Then,at the bottom, click on the Apply to all slides button. This will eliminate the accidental clicks that send the show onto the next slide. (Thanks for that tip, Dan!)
�
Chris Downer pointed out that " you can, in fact, use any shape, clip art, photograph, etc. as an action button by just right clicking on it and selecting the action settings option ." Since this tutorial is about using invisible buttons, I would add AutoShapes to Chris' list. If you have gotten this far, you know how to make a button invisible. An AutoShape can be made invisible in exactly the same way. If you want to make an invisible AutoShape that will exactly match the shape of anything you are trying to match, use the Freeform line tool to draw a shape over the item you want to cover with an invisible button.
Have fun making your show!
See the farm animal slide show using invisible buttons
See a periodic table (Chemistry) using over one hundred invisible buttons on one slide

Internet4classrooms is a collaborative effort by
Susan Brooks and Bill Byles.

advertisement
advertisement
Use of this Web site constitutes acceptance of our Terms of Service and Privacy Policy.
