Creating Signs with Borders
Step 1. Open a new blank document using keyboard commands
- PC - Use Ctrl+N (Hold down the Ctrl key and tap the N key one time)
- Macintosh - Use Command+N (Hold down the Command key and tap the N key one time)
Step 2. Turn the document to landscape orientation. On a Macintosh go to the File menu, select Page Options, choose Orientation and select Landscape. On a PC go to the File Menu, select Page Setup , choose the Paper Size tab, and select Landscape as the orientation.
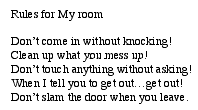
Step 3. Create the document you will use to complete this task. Look below for an example of an unformatted list of rules.

This document fills only a tiny portion of the page and needs to be formatted. Suggestions for formatting include; centering the title, adding bullets, and changing the font style, size and color.
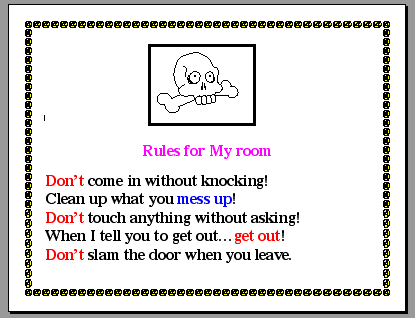
Step 4. Next place a border around the entire page. Go to the Format menu and select Borders and Shading... , and choose the Page Border tab.
In the middle of the Borders and Shading window, near the bottom of the window you will find a button labeled Art which will allow you to put an artistic border around the entire page.

Step 5. Click on the down arrow to display the choices. Scroll through this list to find the one you prefer. There is a huge selection here. The graphic below illustrates only a portion of what is available:
(I turned this list on its side to take up less space on the page)
Step 6. Click OK when you have made your choice. This places the border around your document.

Step 7. Go to print preview using either the File menu or the Standard toolbar.
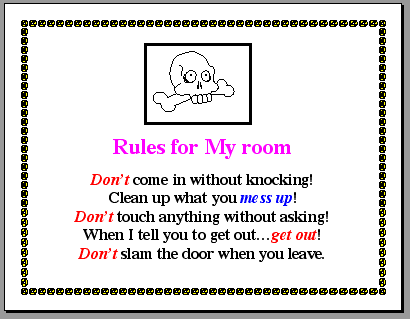
Make a judgment regarding the appearance of your sign. On the example above, I would make three changes: (1) increase the font size of the title, (2) center each of the five rules, and (3) change colored text to italic.

Step 8. Save, and print your masterpiece.Go back to Using Microsoft Word to Produce Classroom Documents

Use of this Web site constitutes acceptance of our Terms of Service and Privacy Policy.