| Sign Up For Our Newsletter |
| Sign Up For Our Newsletter |

Formatting Action Buttons
defining the action | formatting the button | using other buttonsTo insert an action button into a PowerPoint show:
- From the slide show menu select action buttons
- Click one time and slide over to the twelve button styles (light gray)
- Click one time to select a button style (they are identified below)
- Click and drag with your cross hair cursor to draw the button any size you want the button to be.
- (This is what the cross hair cursor looks like when it is at the top corner of a slide.)

- Choose the action setting you wish to have associated with the button.
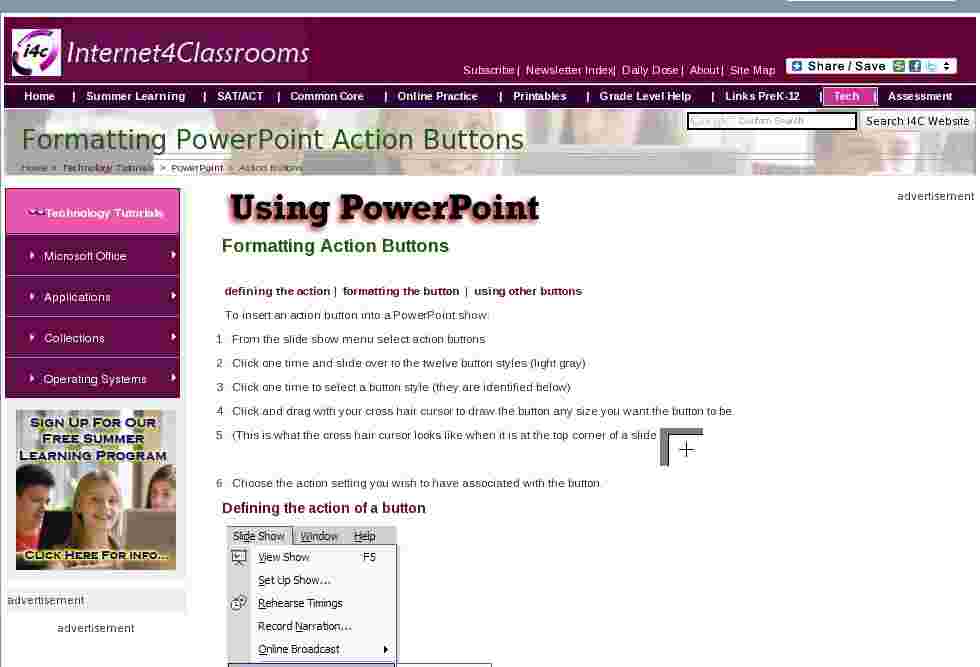
Defining the action of a button
The instant you release the mouse button, a small pop-up window is presented giving you several choices:
- Perform the action as soon as someone clicks on the button (the Mouse Click tab) or as soon as the cursor touches the button (the Mouse Over tab)
- A pull down menu allows you to select from eleven actions. (In fairness to you, you will not see the window exactly as you see to the left. You will have to scroll down to see all eleven choices.)
- Click the OK button to associate the chosen action with your button.
- The button will only work while your PowerPoint show is being shown, not while you are editing.
Formatting the button appearance
Right-click the button and select Format AutoShape.
The pull down menu in the color box allows a large number of changes to be made to the appearance of a button.
- Change of color can be made by selecting the color boxes, More Colors, or Background.
- Fill Effects allows a greater number of changes to be made to the button appearance. You can:
- Change color gradient across the button surface
- Change texture on the button surface
- Change the pattern on the button surface
- Place a photo on the button (example below)

�
When a PowerPoint button is drawn there are no lines outlining the button. You may leave the button Line formatting unchanged if you wish to have the softer look. However, If you wish to add lines, black or any other color, don't forget this area of the Colors and Lines formatting window.
Other changes you may wish to make to the button appearance
Changes made by clicking and dragging
- Click on the green circle and drag to rotate the button through an entire 360 degrees.
- Click on the gold diamond and drag in or out to change the slide bevel (side border).
- Click and drag a white corner circle to change height and width at the same time. If you keep the Shift key depressed while you drag, you can create a perfect square.
- Click and drag a white middle circle to change only width or height.


There are two buttons to the left. One of them would be invisible in a PowerPoint slide show because I selected no fill for color. This button could be placed on top of an object in a picture, and would not block the picture. However, the button would still be able to perform whatever action was associated with it.
Download a Periodic Table PowerPoint slide show which employs invisible buttons.
Action buttons other than the dozen discussed in this tutorial
Don't limit yourself to the twelve Action Buttons. In a recent email [9/10/04] Chris Downer pointed out that " you can, in fact, use any shape, clip art, photograph, etc. as an action button by just right clicking on it and selecting the action settings option ." I would add AutoShapes to Chris' list. Select any AutoShape from the menu, or select Freeform from the lines section and draw any shape button you wish to use.
An AutoShape can be made invisible. If you want to make an invisible AutoShape that will exactly match the shape of anything you are trying to match, use the Freeform line tool to draw a shape over the item you want to cover with an invisible button. If you are not sure how to make an action button invisible, take a look at a tutorial on that subject .
Download a PowerPoint show about using action buttons . In the show you will find examples of using pictures on buttons and instructions on making, and using, action buttons.

Internet4classrooms is a collaborative effort by
Susan Brooks and Bill Byles.

advertisement
advertisement
Use of this Web site constitutes acceptance of our Terms of Service and Privacy Policy.